Create a new project or open an existing project.
Create a new cell.
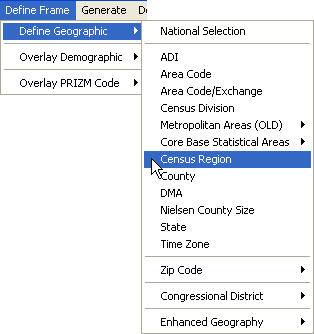
On the Define Frame menu, point to Define Geographic, then click Census Region.
A Define Non-National Geographic Frame dialog box opens.
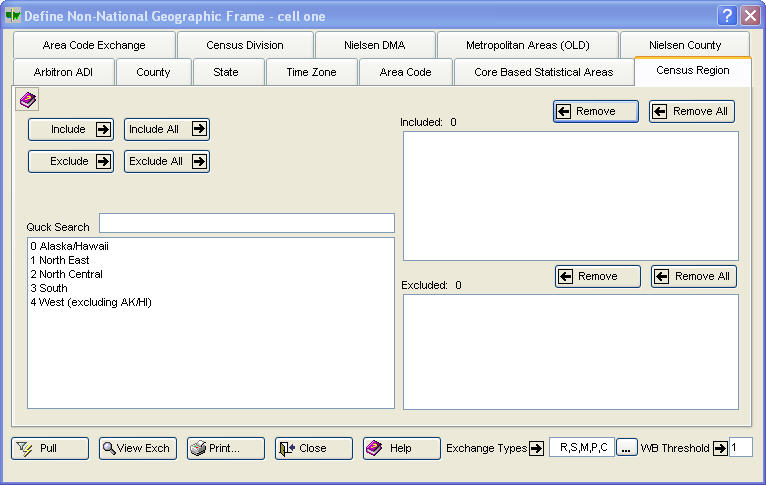
The Census Region tab is selected. The cell name is displayed in the title bar. Include  ,Include All
  ,Exclude
  ,Exclude All
  ,Remove
  , andRemove All
  are provided for convenience.
Define the cell's geography.
To select an Census Region and move it into the Included box
Type the first character or two of the item into Quick Search box.
Do one of the following:
Click once on the item, then click Include .
Click twice (double-click) on the item.
After the cell has been defined, including the Exchange Types ![]() andWB (Working Bank)Threshold
andWB (Working Bank)Threshold ![]() , click Pull
, click Pull  to retrieve the corresponding exchanges.
A message displays the number of exchanges pulled that serve the defined geographic area.
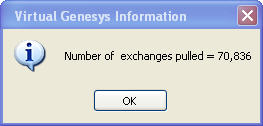
(Click OK  .)
.)
Click Close ![]() , click View Exch
, click View Exch  for a View Exchanges dialog box, or click Print
  to open a Geographic Definition Report for printing.