Virtual Genesys provides a number of pre-compiled reports (Code Books) for reference purposes. These reports are available online, and can be viewed, printed, or saved. Reports marked with an asterisk (*) are available in PDF format. The reports available are:
ADI (Area of Dominant Influence)
Detail *
Summary by Code
Summary by Name
Summary by Rank
CBSA (Core-Based Statistical Area)
CSA (Combined Statistical Area) Detail *
CSA Summary
MCSA (Micropolitan Statistical Area) Detail *
MCSA Summary
MSA (Metropolitan Statistical Area) Detail *
MSA Summary
Census Region / Division
County
DMA (Designated Market Area)
Detail *
Summary by Code
Summary by Name
Summary by Rank
MSA (Metropolitan Statistical Area)
Detail (Old) *
Summary (Old)
PRIZM (if licensed)
Codes and Descriptions
State *
Time Zone *
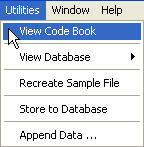
On the Utilities menu, click View Code Book.
A View Code Book dialog box opens.
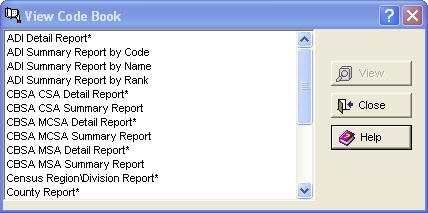
Click a report and click View  . The report may then be printed or saved.
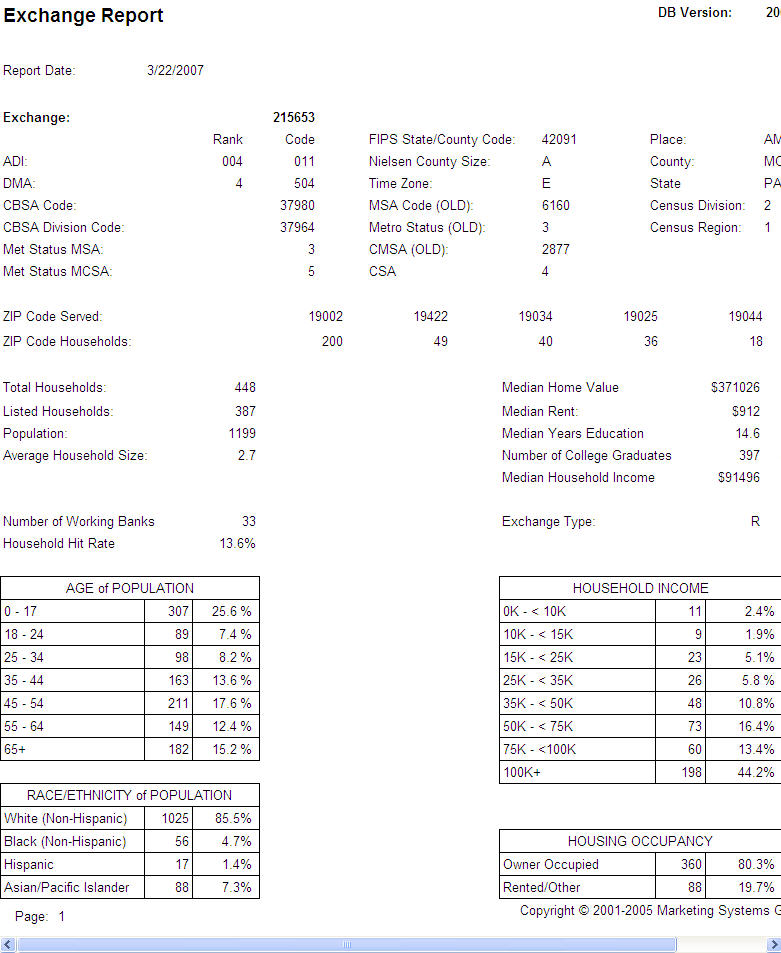
The View Database utility allows the user to view all geographic and demographic parameters for an exchange or defined geographic area.
On the Utilities menu, point to View Database, then clickExchange.
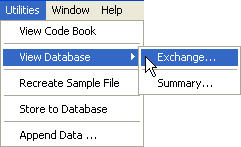
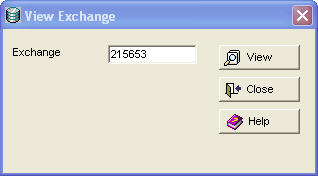
A View Exchange dialog box opens.
![]()
Type an Area Code/Exchange, no spaces.
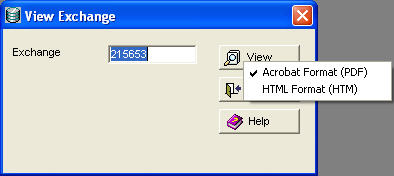
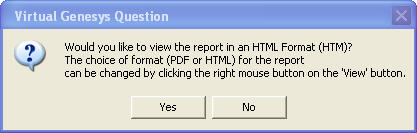
Click View . A message opens ON TOP of View Exchange.

(Click Yes or No.)
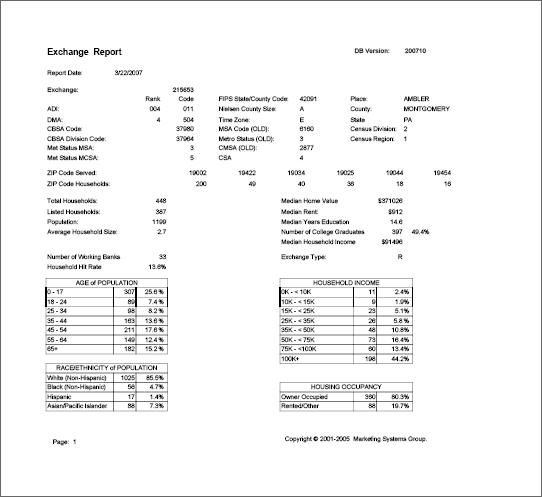
To see the PDF Exchange Report, click Yes  .
.
For the HTML report, click No  . View Exchange returns to focus.
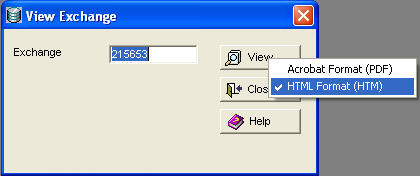
Put the pointer on View and right-click.
Click on HTML Format (HTM) to change the report format from PDF to HTML.
Click on View again. A new message opens ON TOP of View Exchange.
To see the HTM Exchange Report, click Yes .
Note: Microsoft Internet Explorer (IE) should be used to view the HTM Exchange Report. Mozilla Firefox does not appear to render the page properly.
On the Utilities menu, point to View Database, then click Summary.
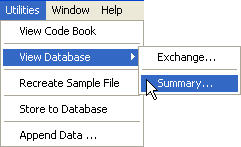
A View Database Information for a Defined Area dialog box opens.
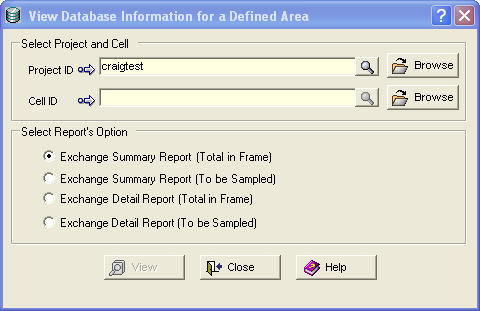
To find the project that contains the cell for which the Exchange Report will be run, click the Browse  next to the Project ID field. A Select Existing Project dialog box opens ON TOP of the previous window.
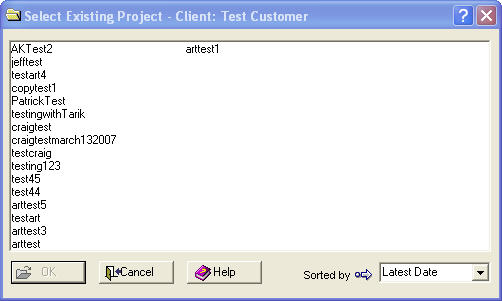
Click a project and click OK  . The window will close. View Database Information for a Defined Area will come back into focus.
To find a cell on which to run the Exchange Report, click Browse . A Select Existing Cell dialog box opens ON TOP of the previous window.
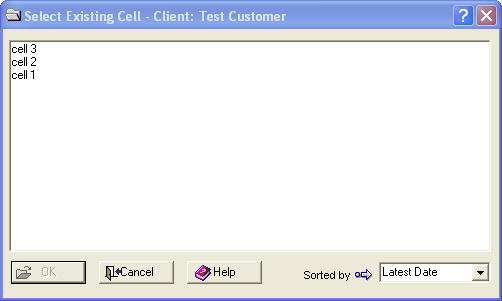
Click a cell and click OK . The window closes. View Database Information for a Defined Area returns to focus.

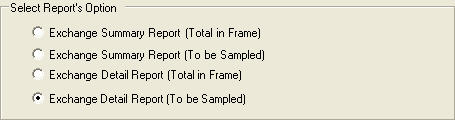
Four types of reports can be generated from the options under Select Report's Option:
Summary Exchanges Report (Total in Frame): Displays cumulative totals for each field in the report based on the total in the sampling frame.
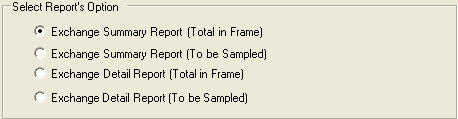
Exchange Summary Report (To be Sampled): Displays cumulative totals for each field in the report based only on the exchanges to be sampled.
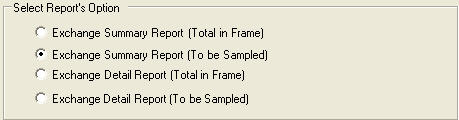
Exchange Detail Report (Total in Frame): Displays results on every exchange in the sampling frame for each field in the report based on the total number of exchanges in the sampling frame.
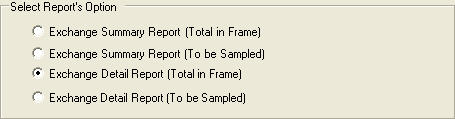
Exchange Detail Report (To be Sampled): Displays results only on those exchanges to be sampled for each field in the report on the sampled exchanges only.
After the report type selection has been made, click View  to see the report in PDF, Excel, or HTML format. To change the current default format, right-click on View .
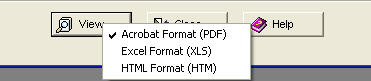
Click a format. Click on View again. Open the report. From there, save or print it.
ClickClose ![]() to close the report. Then click Close
to close the report. Then click Close ![]() to close View Database Information for a Defined Area.
to close View Database Information for a Defined Area.
The Re-create Sample File option allows users to re-create the latest sample file for a selected cell. Any available sample format and number of replicates can be selected. Sample file fields can be sorted and various reports can be created.
On the Utilities menu, click Re-create Sample File.
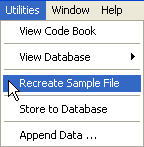
A Re-create Sample File dialog box opens.
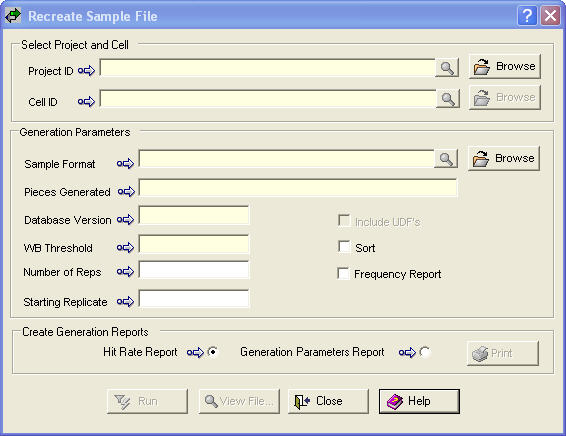
In theSelect Project and Cell group box, clickBrowse to find the Project ID and Cell ID that contain the sample file to be recreated.
In theGeneration Parameters group box, click Browse to find the Sample Format. To view a sample format layout, click Browse, click a file, and then click OK. This will populate the Sample Format section with the selected Sample Format. Click the  button to view the Sample Format.
After selecting the project, cell, and sample format, you can change the Number of Reps and the Starting Replicate.
Click Sort and Frequency Reports. If the selected Sample Format includes UDFs, the Include UDFs check box will become available. That check box is currently unavailable.
In the Create Generation Reports group box, click a report type. Select either Hit Rate Report or Generations Parameter Report. Click Print to open the selected report for printing.
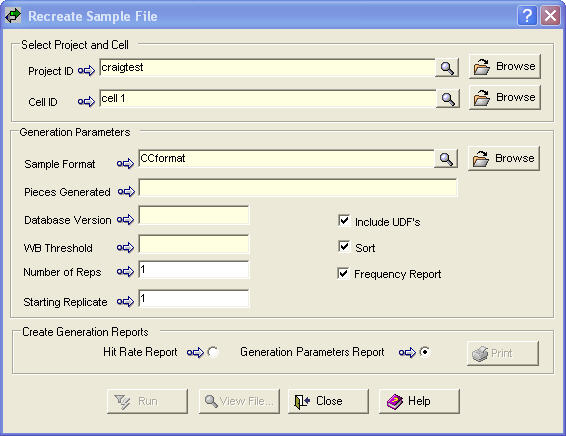
Once the fields in the Re-create Sample File dialog box have been populated, it will look similar to this:
Click Run  to re-create the sample file.
The user may be prompted to select the fields by which to sort.
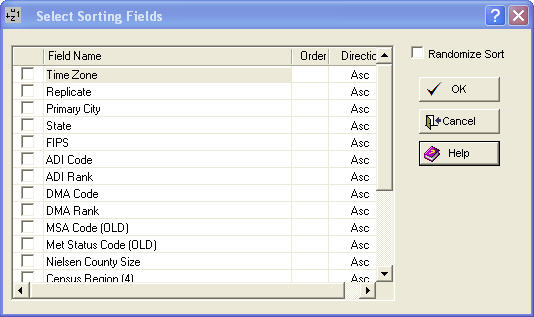
The user makes their selection and clicks OK  .
.
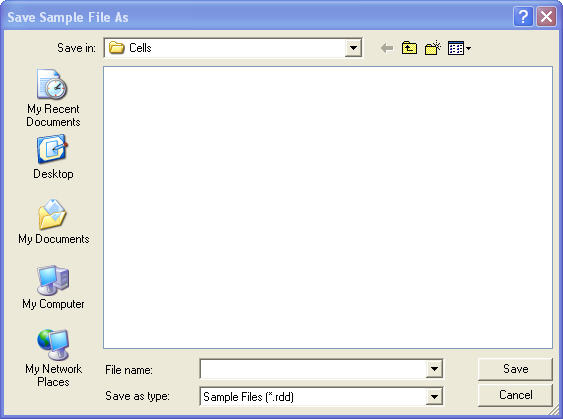
The user will be prompted to name the re-created sample file and save it.
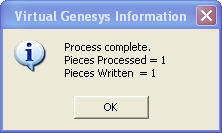
A message similar to this may appear:

The Virtual Genesys program will not store duplicate phone numbers into the database. In some instances, the number of pieces available for sample file re-creation can be less than the number of pieces being generated.
After the re-create process has finished, a message says how many pieces were processed and written.
Select View File  to view the re-created sample file.
Close the Re-create Sample File dialog box.
This utility allows the user to store phone numbers in a database. This also allows the user to store phone numbers from Genesys sample files that were generated using the Do Not Store option. The database can then be used for unduplicating. ASCII or delimited files are the two types of files that can be used to store phone numbers.
On the Utilities menu, click Store to Database.
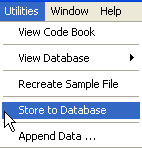
A Store Phone Numbers dialog box opens.
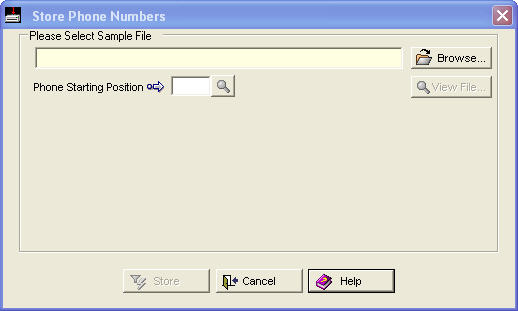
ClickBrowse to find the file containing the phone numbers that will be stored in the database.
If the file is ASCII (American Standard Code for Information Interchange), such as a Genesys sample file (*.smp), the dialog box looks like this:
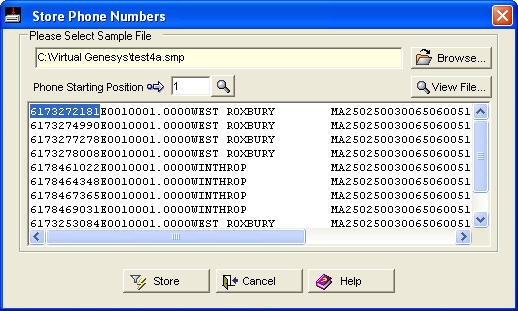
The sample file is open and a portion of the file can be viewed. By default, the first 10 digits are highlighted as the phone number, and the Phone Starting Position is populated. If this is not correct, use the LEFT and RIGHT ARROW keys to select the correct starting position. The Phone Starting Position will change automatically.
If the file is delimited, the Store Phone Numbers dialog box looks like this:
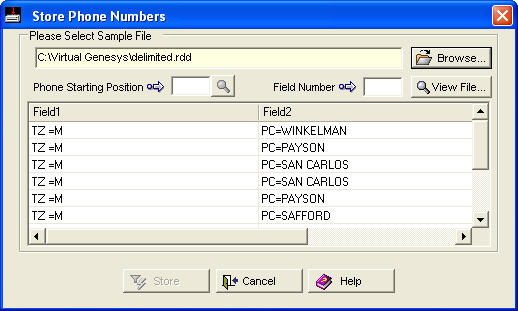
The delimited file is open and a portion of the file can be viewed. The file will list the field names and values. By default, the program will look for the phone number in the first field.
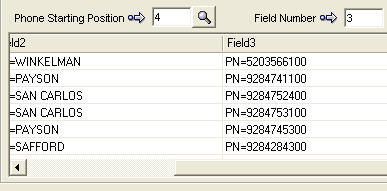
If the phone number is not in the first field, the phone number must be manually located. Type the phone number's field number in the Field Number box. Type the starting position for the phone number (where the exchange begins) in the Phone Starting Position box.
Click Store  to store the phone numbers in the database.
Once processing begins,  replaces Help
  .
.

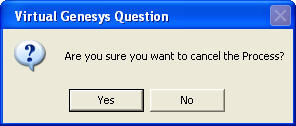
To cease processing, click Stop Process to end the Store to Database process.
If processing is stopped, a message confirms the cancellation.
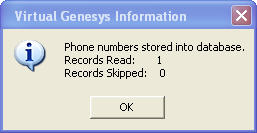
If processing continues, a message says how many records were read and how many were skipped.
Append Data allows data to be appended to ASCII and delimited files. The file must contain either the 10-digit phone number, or the area code and exchange -- referred to as the NPA-NXX (area code plus exchanges). North American phone numbers begin with the format NPA-NXX, where NPA is the three-digit Numbering Plan Area (area code) and NXX identifies the central office exchange allocated within the NPAs.
On the Utilities menu, click Append Data.
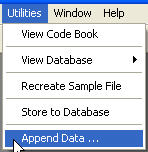
An Append Data -- Input Parameters Selection dialog box opens.
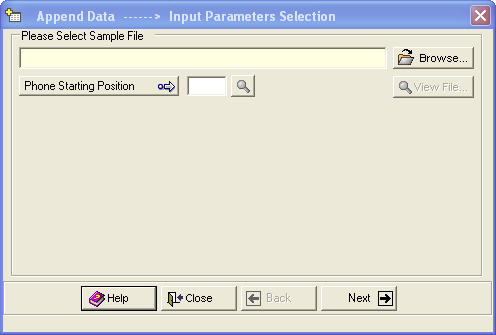
ClickBrowse to locate the file, which will be either an ASCII or a delimited file.
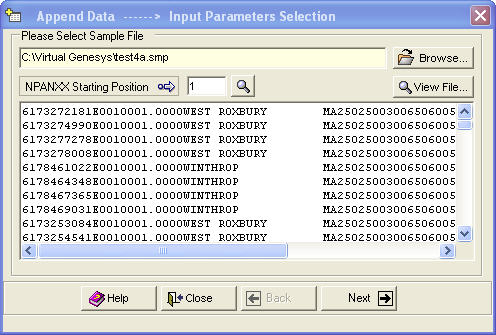
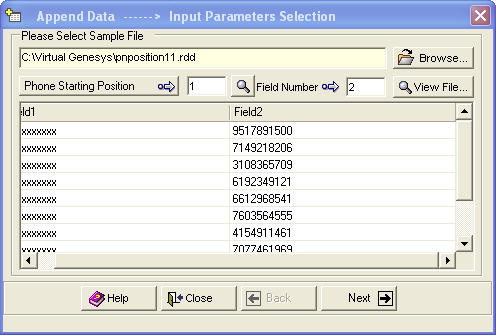
If an ASCII file is selected, the file name populates the Please Select Sample File box. This locates the 10-digit phone number or the NPA-NXX, which is the area code and exchange.
If the file contains the NPA-NXX, click Phone Starting Position  .
.
See below.

Phone Starting Position changes to NPA-NXX Starting Position  .
.
If the location is not in the first column, which is populated by default, the Append Data -- Input Parameters Selection dialog box appears, but Phone Starting Position and Field Number  is empty.
Click on a phone number. These boxes automatically populate.
Click Next ![]() .
.
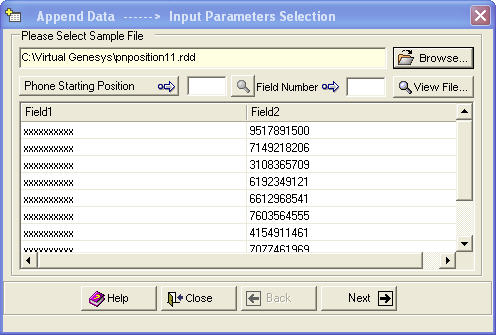
If a delimited file is selected, the file populates the dialog box, but the phone number must be manually located.
The first column populates by default. If the phone number is not located in the first column, the dialog box may look like this:
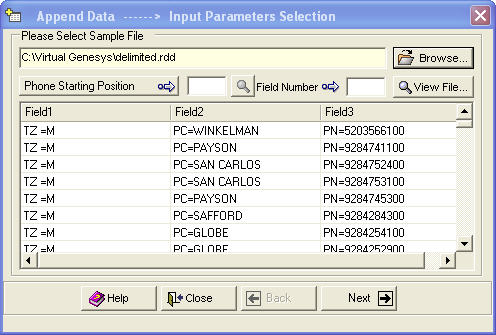
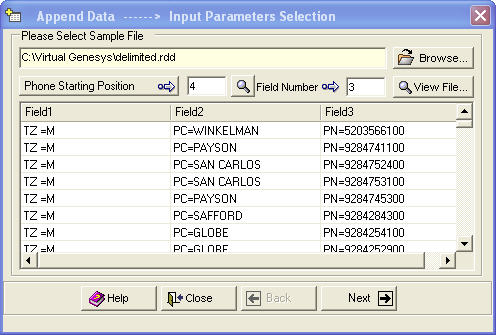
The Phone Starting Position and Field Number boxes are empty. Click the phone number. The boxes populate.
Click Next ![]() . An Append Data -- Select Fields to Append dialog box opens.
. An Append Data -- Select Fields to Append dialog box opens.
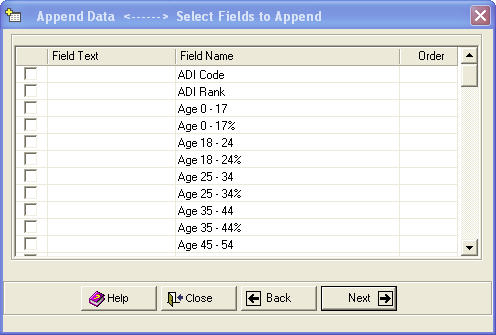
Decide which fields to append by selecting the check boxes next to the Field Name. The order in which the fields will be appended is shown in the Order column.
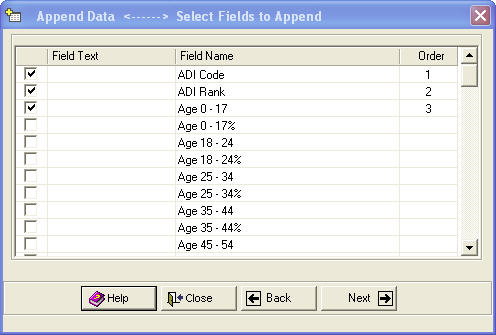
If the order is incorrect, clear the check boxes and select the fields in the correct order.
Click Next ![]() . An Append Data -- Set Output Parameters dialog box opens.
. An Append Data -- Set Output Parameters dialog box opens.
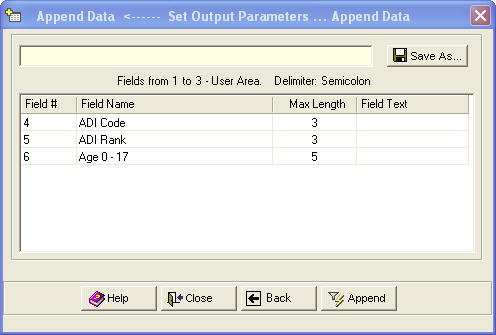
Click Save As  to name and save the file. If changes are needed, click Back
  to go back and make the changes. If changes are not needed, click Append
  .
.
To end the process, click Stop Process to stop the Store to Database process.
If processing is stopped, a message confirms the cancellation.
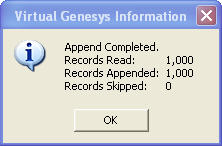
When the append is done, a message says how many records were appended.