- On the Utilities menu, click Append Data.

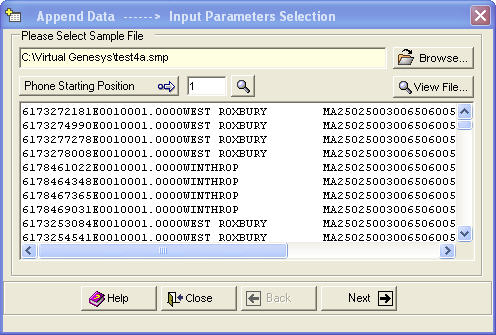
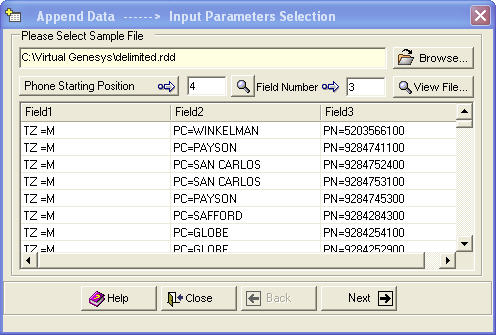
Append Data allows data to be appended to ASCII and delimited files. The file must contain either the 10-digit phone number, or the area code and exchange -- referred to as the NPA-NXX (area code plus exchanges). North American phone numbers begin with the format NPA-NXX, where NPA is the three-digit Numbering Plan Area (area code) and NXX identifies the central office exchange allocated within the NPAs.
An Append Data -- Input Parameters Selection dialog box opens.

 to locate the
file, which will be either an ASCII or a delimited file.
to locate the
file, which will be either an ASCII or a delimited file.
If the file contains the NPA-NXX, click Phone Starting Position ![]() .
.
See below.
Phone Starting
Position ![]() changes to NPA-NXX
Starting Position
changes to NPA-NXX
Starting Position ![]() .
.

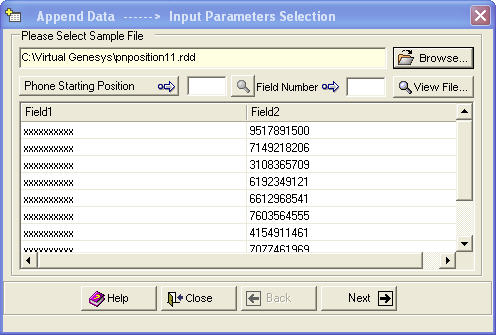
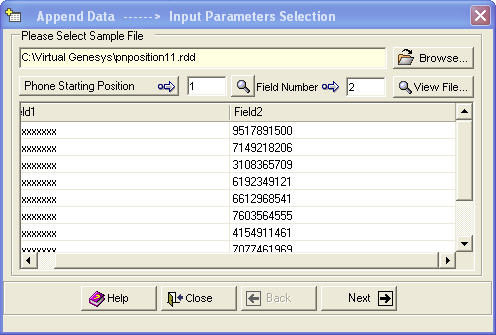
Click on a phone number. These boxes automatically populate.
Click Next
![]() .
.
The Phone Starting Position and Field Number boxes are empty. Click the phone number. The boxes populate.
Click Next ![]() .
.
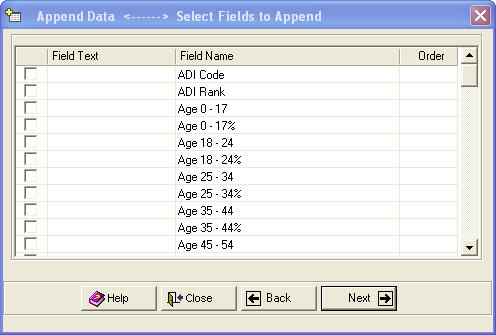
An Append Data -- Select Fields to Append dialog box opens.
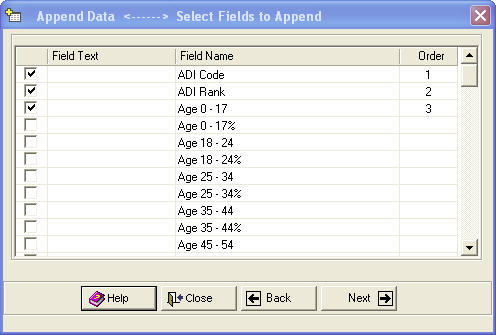
If the order is incorrect, clear the check boxes and select the fields in the correct order.
Click Next ![]() . An Append
Data -- Set Output Parameters
dialog box opens.
. An Append
Data -- Set Output Parameters
dialog box opens.
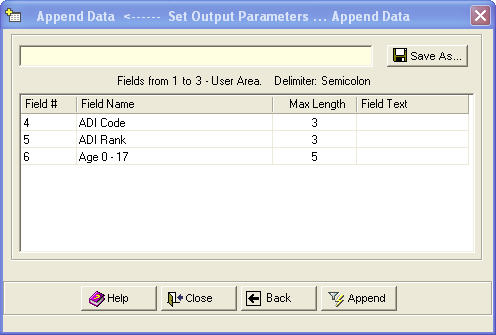
 to name and save the file. If
changes are needed, click Back
to name and save the file. If
changes are needed, click Back
![]()
If processing is stopped, a message confirms the cancellation.
